Southbound_SF
Well-known member
Thank you, Tegan! The solution sounds so simple, I now feel silly for ever struggling with it.
SB
SB


I looked really hard for a mess, and couldn't find one!grumpy":1dgkore4 said:It's a little messy w/all of the nestboxes on the tops of the cages.


MamaSheepdog":c5c0i8xc said:Grumpy,
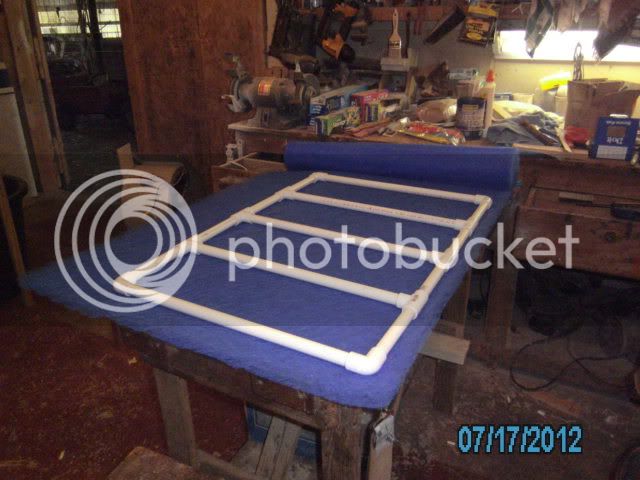
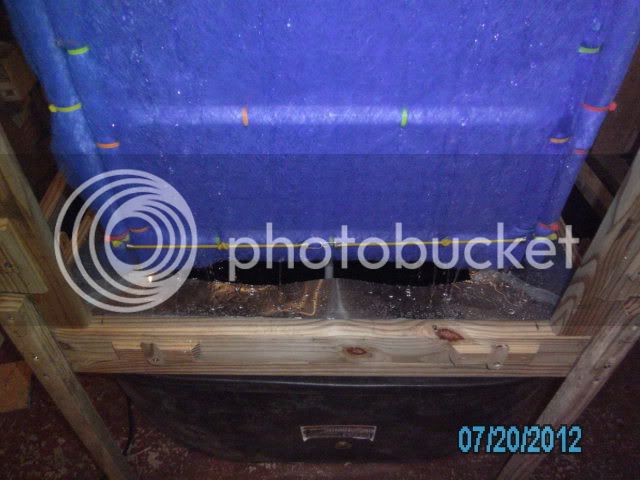
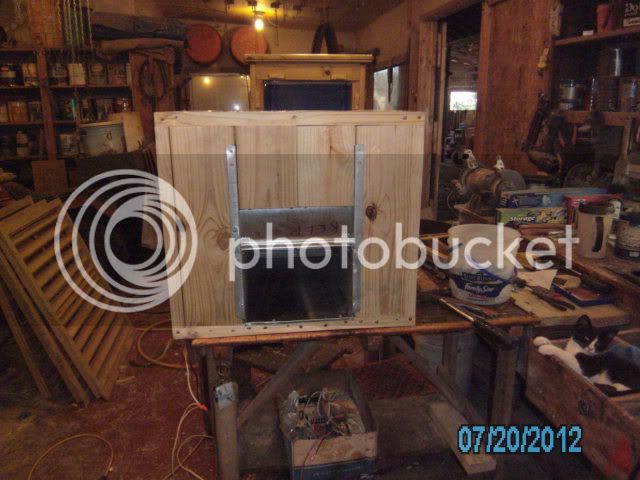
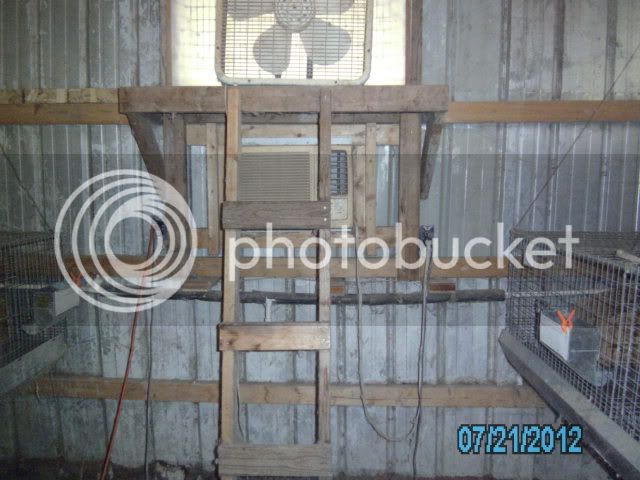
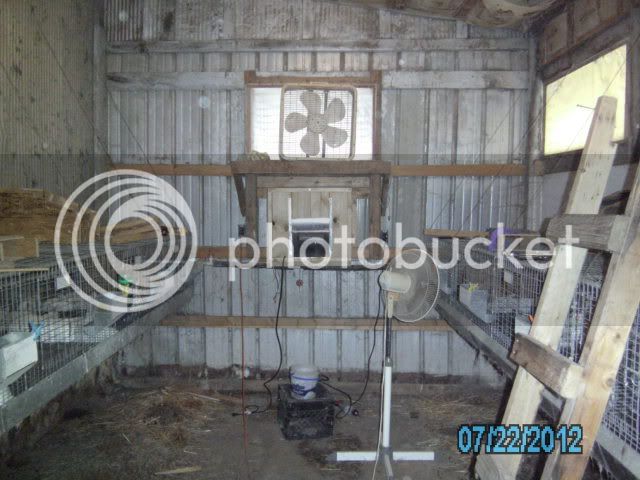
what are you going to do to waterproof the lumber to prevent it from warping and getting mildew?
It looks great, btw. I sure hope it works after all of your hard work!


ZRabbits":2sdtl9y4 said:So glad to hear that you figured it out and this project has become more than you imagined. "Scratching-my-head" and cursing a lot kind of helps me figure things out too. lol. And thrilled that you got the effect you wanted on the room and the rabbits. Will look forward to seeing the other pics and hearing the story of how you figured out the kinks.
Also will look forward to hearing the plans "on the board" for your youngsters grow out room.
Thanks again for posting your journey through this project.
Karen
grumpy":1210plzk said:ZRabbits":1210plzk said:So glad to hear that you figured it out and this project has become more than you imagined. "Scratching-my-head" and cursing a lot kind of helps me figure things out too. lol. And thrilled that you got the effect you wanted on the room and the rabbits. Will look forward to seeing the other pics and hearing the story of how you figured out the kinks.
Also will look forward to hearing the plans "on the board" for your youngsters grow out room.
Thanks again for posting your journey through this project.
Karen
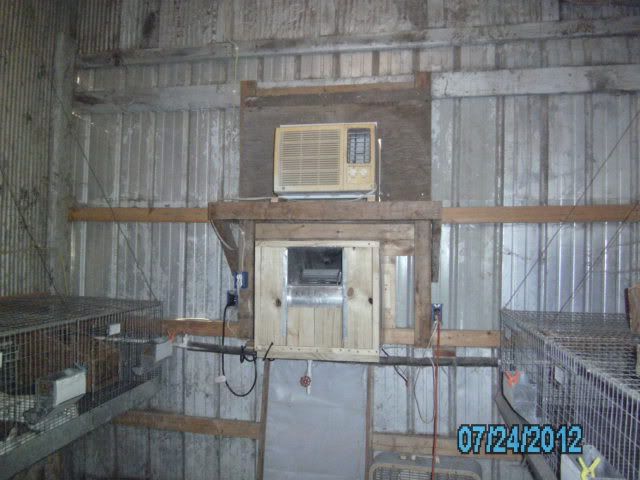
Karen: One subtle switch reduced the temperature in the room 6 degrees in less than twenty-minutes. I literally watched the does and youngsters begin to "come-alive" as the temps began to fall. It was amazing.
grumpy.
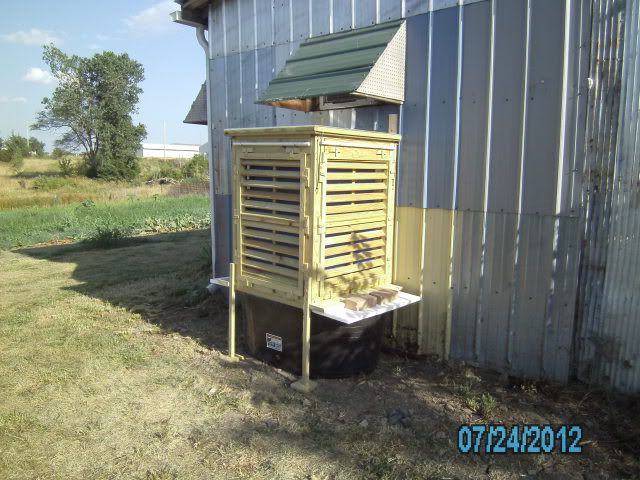
MamaSheepdog":420v7y0o said:What happened to the beautiful louvres? Did they inhibit the airflow too much?
grumpy":wklnc9he said:They say confession's good for the soul....well, I've got a doozy. Actually, a couple of them. I'll post later with the pics and explain my blunders.
grumpy.
3mina":3gmmr68c said:grumpy":3gmmr68c said:They say confession's good for the soul....well, I've got a doozy. Actually, a couple of them. I'll post later with the pics and explain my blunders.
grumpy.
And you're going to keep us on tenterhooks as long as you can aren't you :mrgreen: