Fixin' to start! Now Pics added.

Rabbit Talk  Forum

Help Support Rabbit Talk Forum:

This site may earn a commission from merchant affiliate links, including eBay, Amazon, and others.

grumpy

Well-known member
Joined
Jan 25, 2012
Messages
2,004
Reaction score
19
Location
plattsburg, missouri
I've been doin' a lot of research on how to combat the extreme temps all of us have been dealin' with. The past few days, I've gathered materials to start a fairly large project. A project that will hopefully help solve a portion of the extreme heat our rabbits are suffering through.

I've watched the high temps and kept close tabs on the percentage of humidity when we hit 90 degrees and above. It usually sits between 30 and 50 percent, sometimes it's lower.

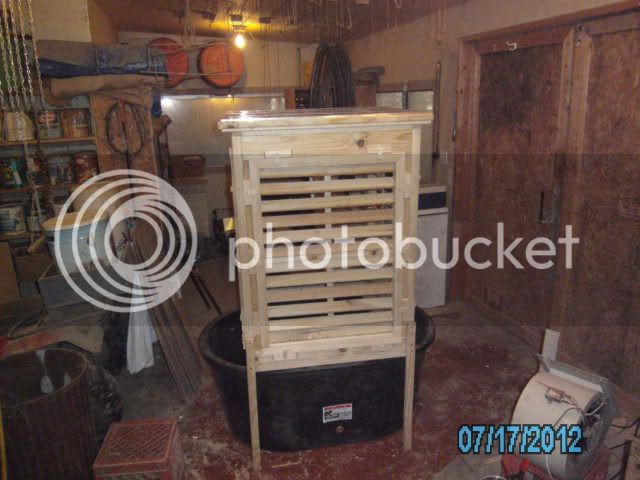
I'm in the process of building an "evaporative-cooler". That's what the old timers call a "swamp-cooler".

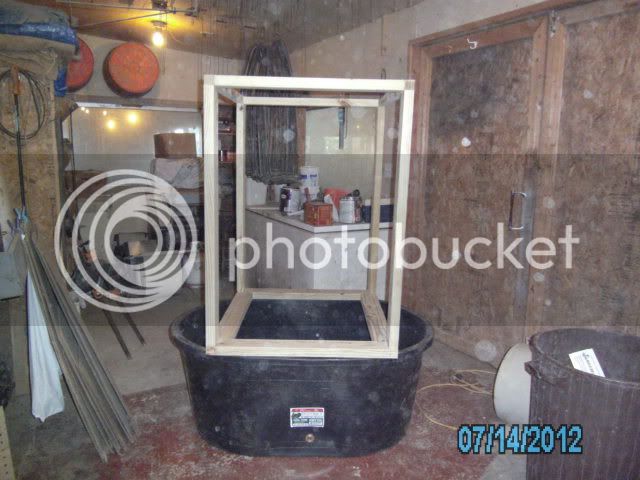
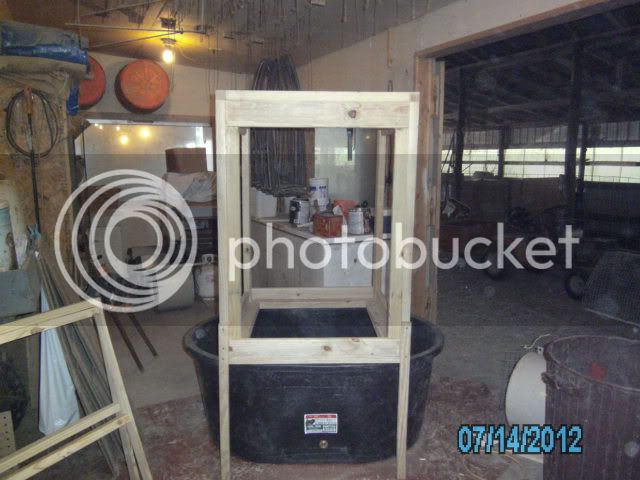
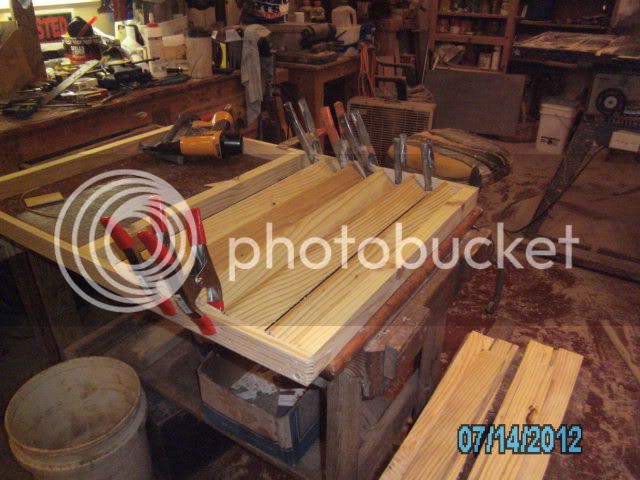
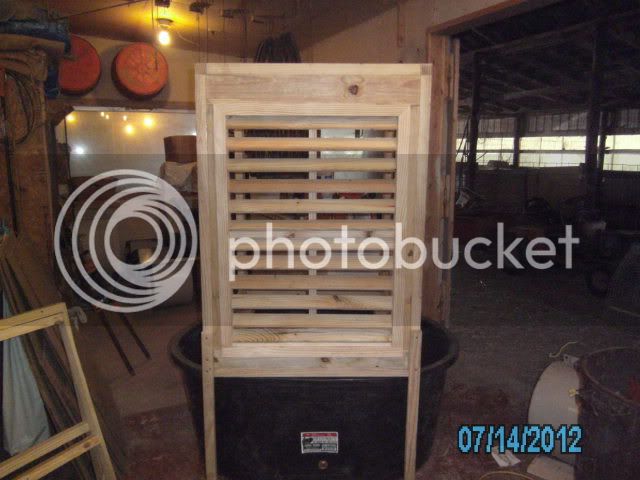
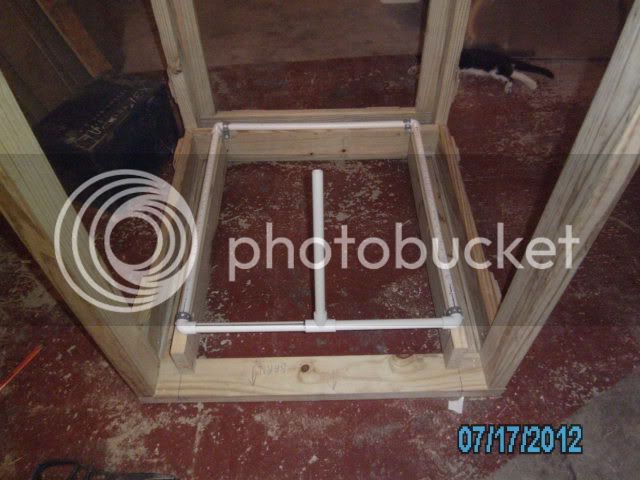
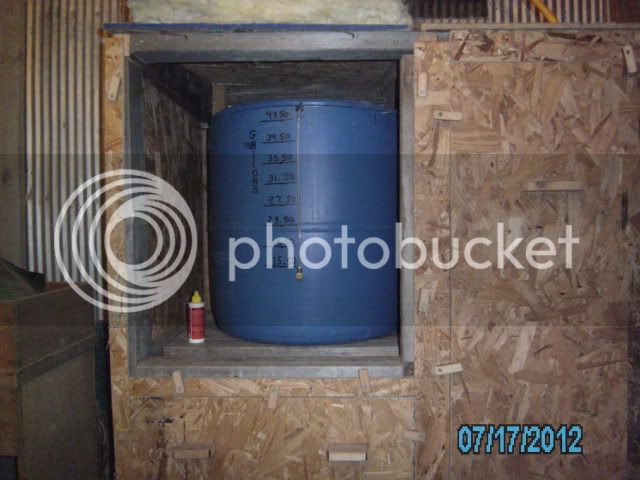
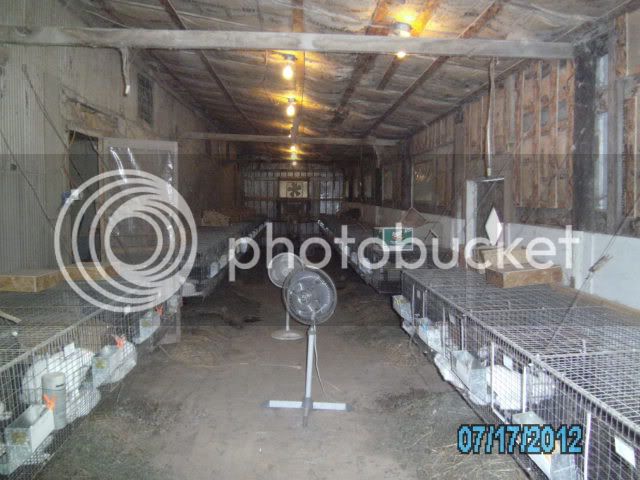
The reservoir is a 110 gallon stock tank. The evaporator is about 3 feet square and 4 feet tall. Overall height is 5 feet 7 inches tall. This unit will set outside of my rabbitry on the north side of the building. Meaning it will be in full or partial shade the entire day. There will be a water pump submerged in the stock tank that will supply 375 gallons per hour to the evaporator pads. Three sides of the evaporator will be louvered, with the one side against the building being solid.

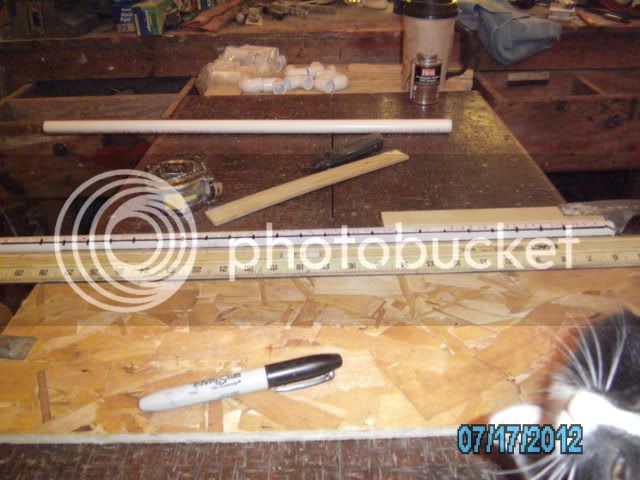
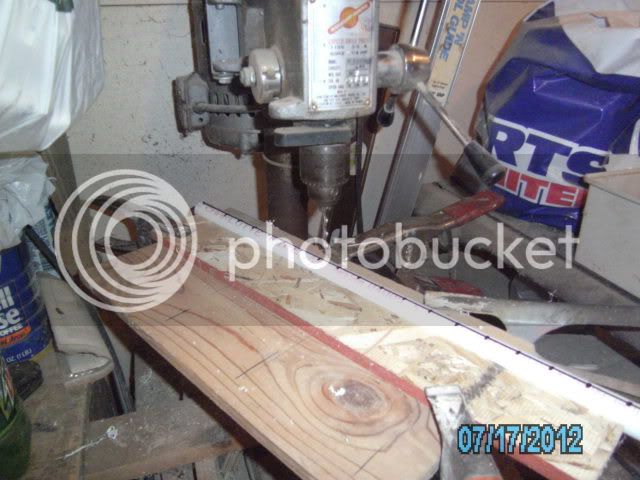
I'll keep a pictorial journal each day to share the progress with all that are interested. A picture speaks a thousand words and will much better explain than what I can. I've already taken several on the very beginning stages.

If my calculations are correct, when it's 95 degrees outside with 40% humidity, the cooler should reduce the inside temps by 15 to 20 degrees. Maybe a little more. We'll see. With a temp of 100 and humidity 20-30%, the unit will reduce ambient air temps inside by close to 30 degrees. Humidity is the key factor in all of this. High humidity reduces its efficiency.

The blower motor is a salvaged blower out of a large furnace. This unit will be seperate and on the inside of the rabbitry connected to the outside through a common opening between the two, introducing the cooled air into the rabbitry.

I've kept an accurate ledger on exactly what this experiment is going to cost. I'll post those figures when I'm near completion.

Wish me luck!

Grumpy.
 
Wow, Grumpy!

What an innovative guy you are! :p Looking forward to seeing pics of the progress. :)
 
You write, you build, you fish, you are an entrepreneur, single handedly, you have restored my faith in the legend of the industrious midwestern man. This could be the makings of another book. I look forward to pictures.
 
Here's the tank and the basic box frame for the evaporater. In the background, you can see several of the blower motors I bought. I'll build frames for a few and place them in and around the rabbitry for better air circulation.
SANY0001-1.jpg


The frame finished out to accept the louver panels.
SANY0005.jpg


Putting the louvers together. Using 100% silicone adhesive.
SANY0004.jpg


Another pic of the louver with the spacers in place.
SANY0002-1.jpg


The front louver's made and installed. These will be held in place with turn-buttons so every louver can be removed for maintenance and servicing the evaporator pads. That little strip you see running up and down in the middle is a stablizer attached to the backs of the louver pieces to prevent sagging.
SANY0006.jpg


All three louvers are together and in place. I'm wanting to get all of the wood-working done before starting assembly of the evaporator pads and water pump supply pipes. The top will also be removable.
SANY0007.jpg


Last, but certainly not least, is my gift from above--Boots. She crawled out from under an Ice Freezer at a service station in town. I had just lost my son, Shane, the day before and was feeling pretty down. Out pops this little fart!! I picked her up and she bumped her head against my whiskered chin and began purring......Needless to say, she'll be with me from now on. She likes playing in the open drawers on my work bench.
SANY0010.jpg


Don't know how much I'll get done tomorrow. I've got about a 4 hour trip to make for one of my boys. The wood working is a piece of cake for me. Getting all of the piping and evaporator pads made and in their proper positions will give me more of a problem.

Grumpy
 
Nice work so far Grumpy. Are you going to put a float valve in the tank to maintain the water level?
 
MamaSheepdog":3j6ltk1o said:
Nice work so far Grumpy. Are you going to put a float valve in the tank to maintain the water level?

Seriously considering it MSD. The rate of water consumption varies with temps and relative humidity. Usually it's between 1.5 and 10.3 gallons per day. The tank has a 110 gallon capacity. BUT that's filled all the way to the brim. Realistically, there will be between 80-90 gallons of water in the tank at any given time.

More than likely, I'll string a 100' garden hose up to the rafters of the barn and drop it to the outside near the evaporator on the north side of the barn. I have to fill my water tanks for the rabbits, every other day. I'll probably just roll filling the cooler into my routine with the rabbitry water tanks.

Also: I've got a thermostatically controlled switch that I'm going to use just ahead of the pump and blower motor. When the air temps in the rabbitry go above 80 degrees, the water pump and blower motor will automatically energize and come on.

Those small legs elevating the box above the tank are temporary. In actuality, the evaporator will be attached to the outside of the building and the tank will be "slipped" under the box once I get the ground graded to level. I may still keep the two outside legs as added support, but they will be heavier and will rest on a concrete block buried in the ground.

PLEASE: Pardon the appearance of my shop. It looks a mess right now.

grumpy.
 
Mary Ann's Rabbitry":kiahcjyp said:
grumpy":kiahcjyp said:
PLEASE: Pardon the appearance of my shop. It looks a mess right now.

Work shop are suppose to look like that. worked in. lol. You are spoiling your bunnies they are going to love that. And the cat. I thought that was really nice of you to bring it home and give it a home.


Wow, I thought it was quite organized. You should see my husband's work shop. If you know you have the tool and you know how to find it, it doesn't matter what it looks like.

Looking forward to seeing the finished product. Wishing you all the success.

Karen
 
That looks real good grumpy. I have been pricing some of the commercially built units and they are high as heck. I figure you are gonna come out way better going the route you are going.

Good luck and keep us posted.

As for your shop being messy... man if I can ever get mine that clean I'll be tickled. The tenants that were living on this property before I decided to live here had so much junk piled in the barns and shops that it has literaly taken me a year to get it all sorted through and haul the junk off. What is bad they only lived here a year and my brother lived here before so I know it didnt look this way before they moved in.
 
I am looking forward to seeing the finished product, Grumpy...and Boots is too cute. She looks right at home already!
 
Getting ready to make the water manifold for the evaporator unit. Ever tried drawing a straight line on a piece of pipe?
Boots has her nose in my business most of the time! LOL
SANY0011.jpg


Here's the simple jig I made to drill the holes one-inch apart. It worked out pretty good!
SANY0012.jpg


The manifold is glued together and in place. The unit is on its top with the back facing the camera.
SANY0013.jpg


I made an aluminum top for the unit, also.
SANY0014.jpg


I got tired of standing on a milk crate and checking the water level in my grow-out room's reservoir.
Here's a neat little trick. I used parts from an Ice-maker unit to make myself a small sight glass.
The flex-tubing gets a little cloudy, but you can still see the water level from the outside.
I did this a month or so ago.
SANY0016.jpg


Shot last night about ten minutes before the lights went out. It's a little messy w/all of the nestboxes on the tops of the cages.
Working on the cooler, I haven't had time to keep up with more than just feeding and watering.
SANY0015.jpg


I'm going to start making the evaporator panels this morning. My only concern is the "padding".
Not sure if it will hold the weight of the water. We'll find out soon enough.

grumpy
 
Mary Ann's Rabbitry":2e20x6kp said:
That is cool, great idea grumpy...Are those NZW.And do you sell your own meat rabbit or do you ship them. ?

Thanks Mary Ann,

Yes, the majority of them are NZW's. I do have some Californian's that I'll cross into the whites for faster weight gain. The lion's share of these go to a processor I've got a contract with. There's a reptile breeder that takes about 100 a month.

I'll butcher a couple dozen or so every month to take care of customer's I've had for several years. I've stopped advertising dressed rabbits.

grumpy.
 
Very cool! I can't believe how fast you have managed to build it and it looks professional, just great construction! Thanks for sharing with all of us!
 
Tip I learned from building model rockets (I'm a geek of many colors). Hold that pipe up to the crook between the door frame and a wall.....then use the door frame as a straight edge for drawing a line.
 

Latest posts

Back
Top