


HowlsOfAngels
Well-known member
The first toy is is a 12" long 2" diameter pvc pipe with a solid cap and two drilled caps, one with a 1 1/2" hole and one with a 1" hole. The second is a much shorter, but wider toy: A 6" long 3" diameter pvc pipe, again with three caps, one solid cap and two drilled (though I reduced the size of the holes to 3/4" and 5/8" to further challenge my beasts).
The first toy dismantled into its components.
The second toy dismantled into its components.
Most of the tools I used to make each (sans two of the spade bits, a sharpie, measuring tape, a mask, and a small stone sanding bit).
A short description of how I made the second toy is as follows, most of the steps were used for the first toy and it's all really very simple.
First step: Measure. Firmly apply one cap to the end of a length of pvc and mark just below the base of the cap with a sharpie, use a tape measure to determine the length needed to allow the cap to fit on the pipe then double the measurement and add 1/2" to allow for a second cap to be applied once the pipe is cut. I used tape to denote the new measurement so that I wouldn't get confused and so that I'd have a larger guide.
Second step: Cut the pipe. I used a dremmel to cut mine, but I have a feeling that a hacksaw would have made things much simpler.... either way you'll end up with jagged edges necessitating a third step.
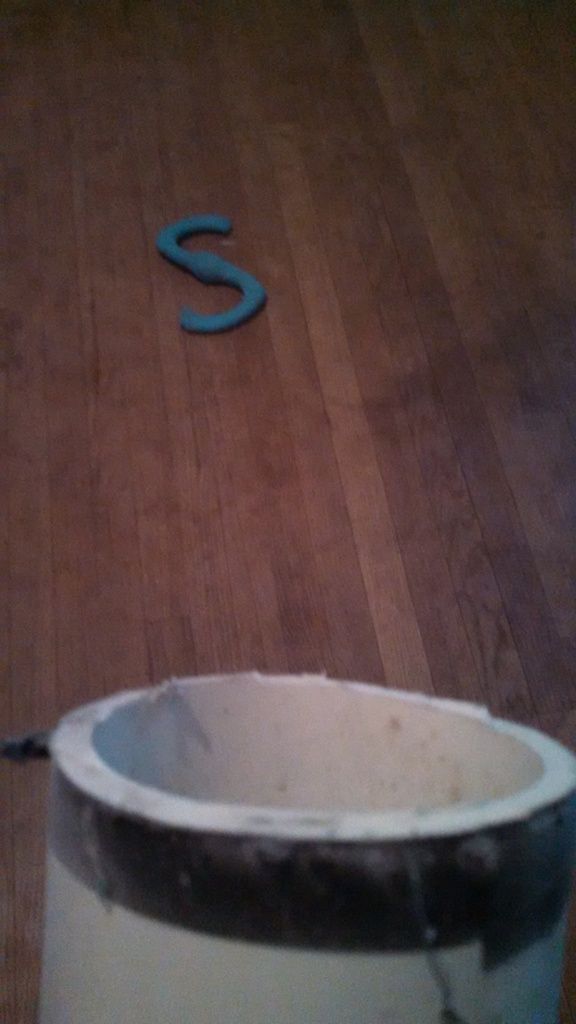
Evil jagged edges are prominent in the above photo.
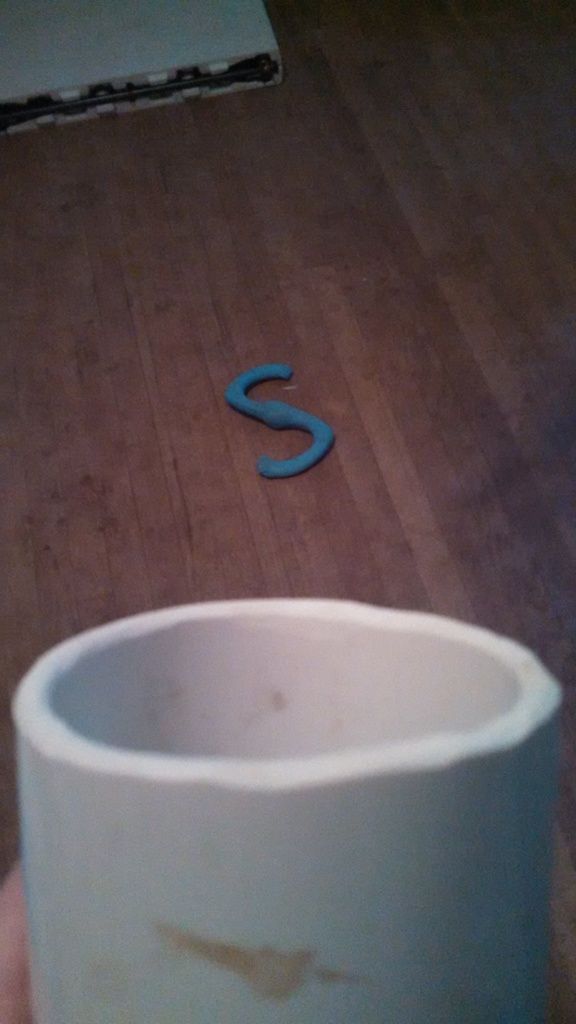
Third step: Sand the edges. Please, do not do this without a mask, inhalation of pvc dust can and will cause irreparable damage to your airways. (Link: http://www.ncbi.nlm.nih.gov/pmc/articles/PMC1740548/) I used a dremmel and both a fine sandpaper bit as well as a smaller stone sanding bit. I had to use both at a speed of around 20k rpm to smooth the sharp edges to my satisfaction. Ridges are no worry to me, I could care less if the surface is uneven as long as the edges are not sharp.
Fourth step: Drilling. Choose an appropriately sized spade bit and make a hole in each cap (larger holes are better for dogs that are new to treat toys and the caps can always be removed and replaced with a cap adorned with a smaller hole latter on). This part is a tad tricky, I chose to do this in a grassy part of my gravel driveway by firmly holding the cap round side down and then applying a decent amount of pressure to the bit as I driller the hole. You have to do this pretty fast and keep applying pressure, otherwise the bit has a tendency to catch random edges and become more of a jagged mess than necessary.
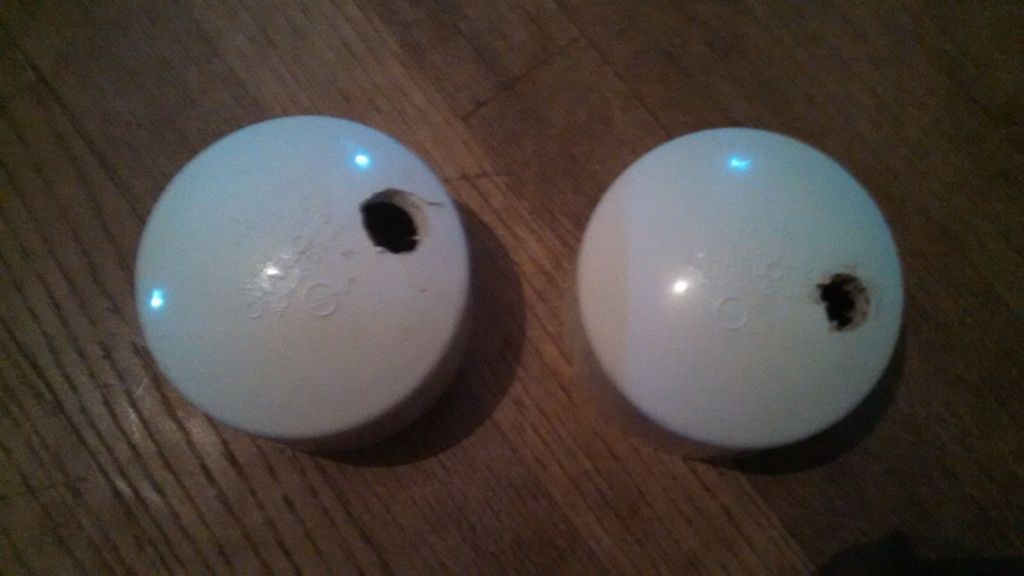
Freshly drilled holes.
Then repeat the third step on your newly formed holes.
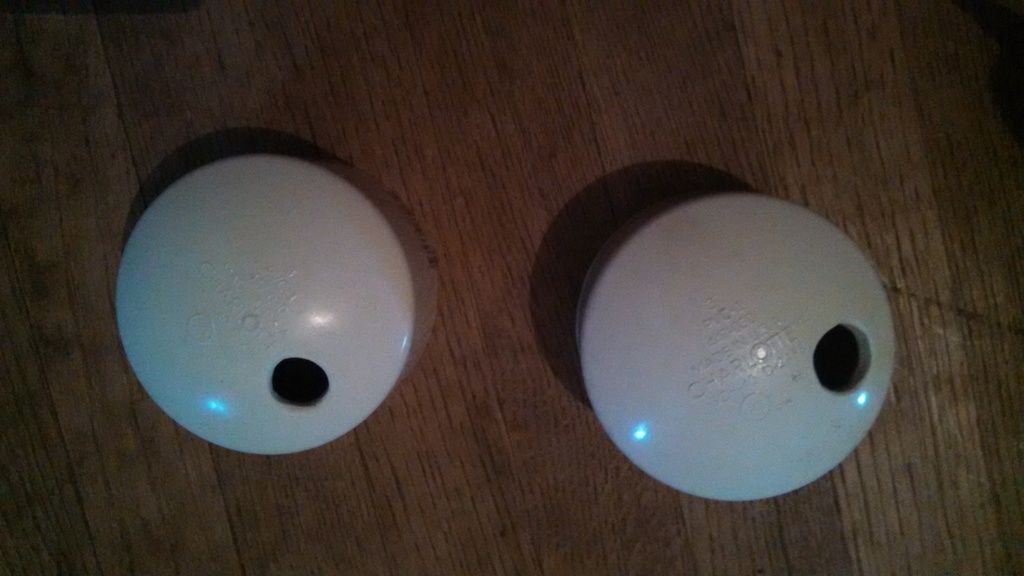
Post sanding.
Then wash and dry the pieces before assembling your toy, filling with kibble (or whatever your dog prefers). and watching your pet swat this thing around for, hopefully, the next twenty plus minutes.

The z shaped toy in the background of many of these photos is called a Bumi and it is a solid rubber tug toy my aggressive chewers love. Link: https://www.westpawdesign.com/dogs/dog- ... mi-tug-toy
The first toy dismantled into its components.

The second toy dismantled into its components.

Most of the tools I used to make each (sans two of the spade bits, a sharpie, measuring tape, a mask, and a small stone sanding bit).

A short description of how I made the second toy is as follows, most of the steps were used for the first toy and it's all really very simple.
First step: Measure. Firmly apply one cap to the end of a length of pvc and mark just below the base of the cap with a sharpie, use a tape measure to determine the length needed to allow the cap to fit on the pipe then double the measurement and add 1/2" to allow for a second cap to be applied once the pipe is cut. I used tape to denote the new measurement so that I wouldn't get confused and so that I'd have a larger guide.

Second step: Cut the pipe. I used a dremmel to cut mine, but I have a feeling that a hacksaw would have made things much simpler.... either way you'll end up with jagged edges necessitating a third step.

Evil jagged edges are prominent in the above photo.
Third step: Sand the edges. Please, do not do this without a mask, inhalation of pvc dust can and will cause irreparable damage to your airways. (Link: http://www.ncbi.nlm.nih.gov/pmc/articles/PMC1740548/) I used a dremmel and both a fine sandpaper bit as well as a smaller stone sanding bit. I had to use both at a speed of around 20k rpm to smooth the sharp edges to my satisfaction. Ridges are no worry to me, I could care less if the surface is uneven as long as the edges are not sharp.

Fourth step: Drilling. Choose an appropriately sized spade bit and make a hole in each cap (larger holes are better for dogs that are new to treat toys and the caps can always be removed and replaced with a cap adorned with a smaller hole latter on). This part is a tad tricky, I chose to do this in a grassy part of my gravel driveway by firmly holding the cap round side down and then applying a decent amount of pressure to the bit as I driller the hole. You have to do this pretty fast and keep applying pressure, otherwise the bit has a tendency to catch random edges and become more of a jagged mess than necessary.

Freshly drilled holes.
Then repeat the third step on your newly formed holes.

Post sanding.
Then wash and dry the pieces before assembling your toy, filling with kibble (or whatever your dog prefers). and watching your pet swat this thing around for, hopefully, the next twenty plus minutes.

The z shaped toy in the background of many of these photos is called a Bumi and it is a solid rubber tug toy my aggressive chewers love. Link: https://www.westpawdesign.com/dogs/dog- ... mi-tug-toy