


TerriG
Well-known member
I am trying to think through my auto waterer that I want to install. I have looked back over the "start to finish" thread. I want it to be a re-circulating system. I am stuck on the best way to run it. I will post some pictures of my rabbitry and try to explain what I am thinking.
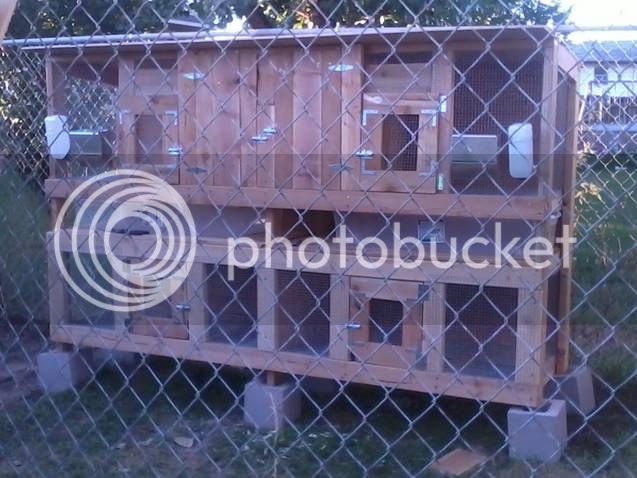
This was our first bank of cages, looking into rabbitry from outside the fence. We are still using trays, but not the ones pictured here. We will be switching to a slant board system.
Here is a picture when we had all 3 banks built. The pvc and black plastic that you see are part of the trays. The hutches form a "U" with about 2 feet clearance between the "!"'s of the U and the "_" of the U.

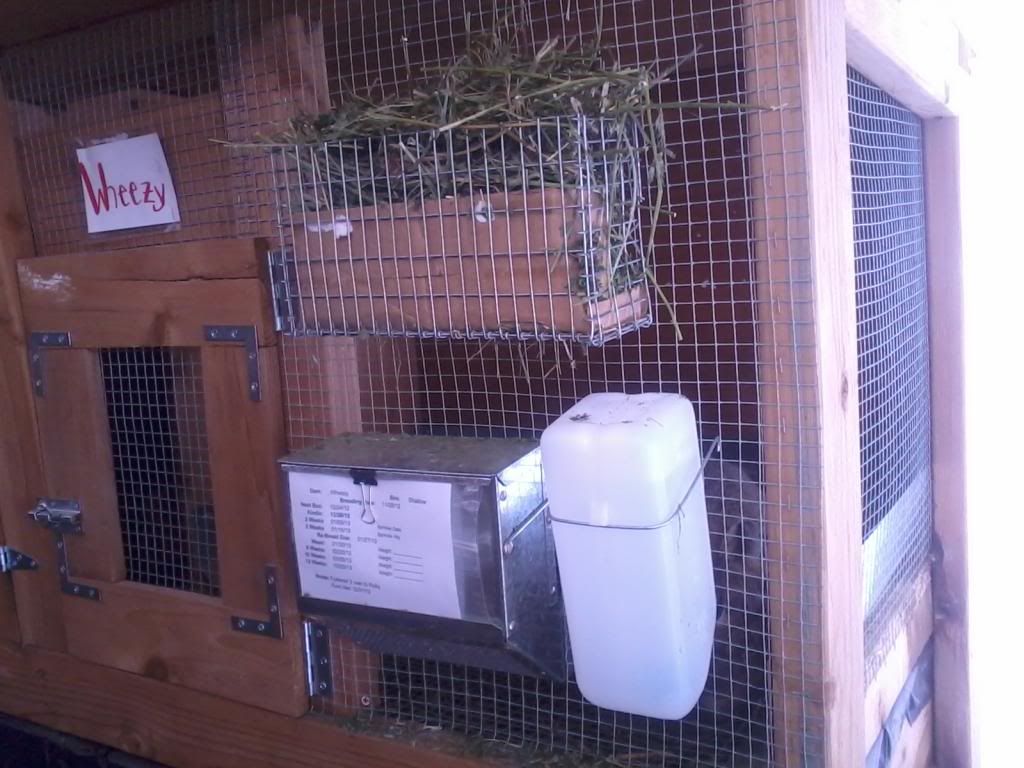
You can see in this picture where we have the water bottles now. We hang a secondary one on the side.
What I was thinking about doing is running the pvc down the front corner 2x4's and then "T" off for the water valves. I would still like to have 2 valves per cage (does and grow-outs). I can visualize all of that.
Where I am stuck is how to make it recirculating. Also, can I run all 3 banks (13 cages and 23 valves) off of one tank and pump? I can run pipe along the roofs of the hutches.
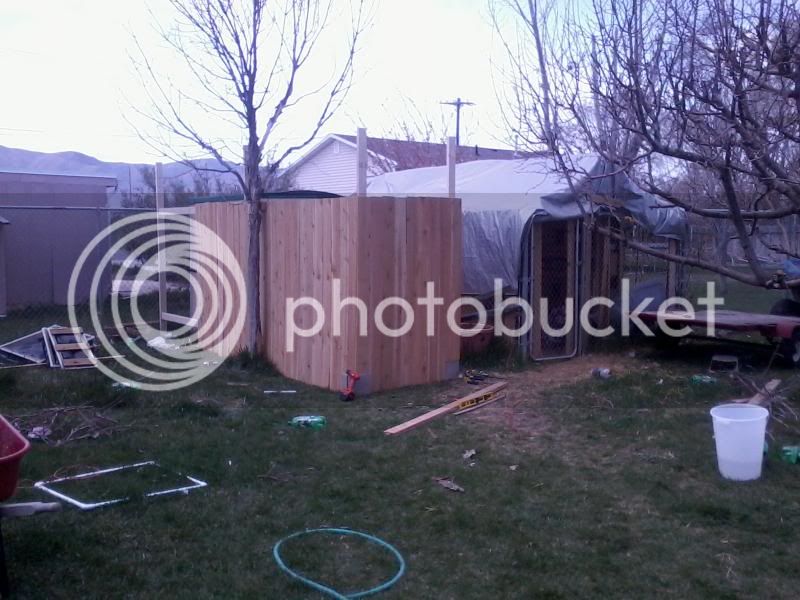
This is the addition that we are building and it will house the water tank and other supplies. I have gotten a bit further than this shows, but I don't have new pics yet. The addition will have a 10' high pitch, so I have plenty of room to work above the hutches.
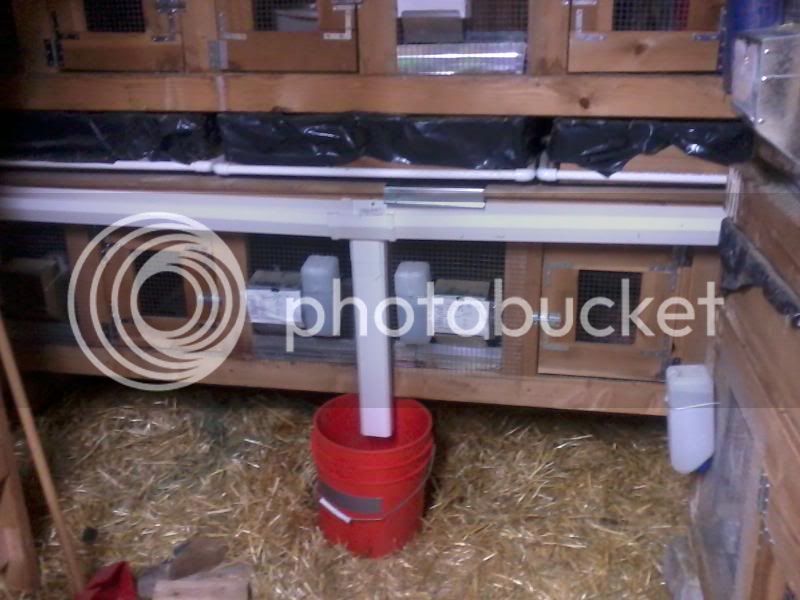
Here is a picture with our mocked up gutter system I want to also have a flush valve on the end of each gutter, which will be very easy since that is where I will be running the pvc (down the 2x4's) anyway.
 <br /><br />__________ Sat Jun 08, 2013 11:06 am __________<br /><br />Hopefully what I wrote makes sense and you can help me figure this out. It is so hard to explain things on the internet
This was our first bank of cages, looking into rabbitry from outside the fence. We are still using trays, but not the ones pictured here. We will be switching to a slant board system.

Here is a picture when we had all 3 banks built. The pvc and black plastic that you see are part of the trays. The hutches form a "U" with about 2 feet clearance between the "!"'s of the U and the "_" of the U.

You can see in this picture where we have the water bottles now. We hang a secondary one on the side.

What I was thinking about doing is running the pvc down the front corner 2x4's and then "T" off for the water valves. I would still like to have 2 valves per cage (does and grow-outs). I can visualize all of that.
Where I am stuck is how to make it recirculating. Also, can I run all 3 banks (13 cages and 23 valves) off of one tank and pump? I can run pipe along the roofs of the hutches.
This is the addition that we are building and it will house the water tank and other supplies. I have gotten a bit further than this shows, but I don't have new pics yet. The addition will have a 10' high pitch, so I have plenty of room to work above the hutches.

Here is a picture with our mocked up gutter system I want to also have a flush valve on the end of each gutter, which will be very easy since that is where I will be running the pvc (down the 2x4's) anyway.
 <br /><br />__________ Sat Jun 08, 2013 11:06 am __________<br /><br />Hopefully what I wrote makes sense and you can help me figure this out. It is so hard to explain things on the internet