Build process: (planned changes in brackets)
- Drill and then screw all holes.
- Air stapler with 1" staples for all mesh
- 3" screws for 2x4 joints
- 1" screws for plywood.
- Dimensions given are outside measurements
1) Floor
Materials
- Two 2x4x6'
- Three 2x4x3'8.5" (2x4x4')(one ripped to 2x3")
- 4' x 4' square of 2" x 4" Welded wire fencing
- 2' x 4' rectangle of 1/2" hardware mesh
Steps
- Build the frame with the 6' boards on the outside, butting the cross pieces to it screwing into the ends of the cross pieces. (Use a half-lap joint instead of a butt joint)
- Cross pieces go at each end, and at a 2' middle for the inside piece. (ripped crosspiece goes on the end of the 2' section. to prevent dragging droppings when moving the tractor)
- Staple the Hardware mesh to the top of the 2x4 section.
- Staple the fencing to the bottom of the 4x4 section.
2) Run uprights and Top
Materials
- Four 2x4x24" This can be shorter if you want a shorter run.
- Two 2x4x4'
- Two 2x4x3'8.5" (2x4x4')
Steps
- Build the top same as the floor but with only the 4x4 section
- Notch both ends of the uprights 1 3/4" deep and 3" long. Notches need to be on the same side.
- Fit the notched part of the upright over the 6' board snugged up to the crosspiece. Screw on snug, but so you have some play in it.
- Fit the top onto the uprights with the notch matching the floor
- Screw the top tightly, then tighten up the bottom. One screw to the side rail, one screw to the crosspiece.
3) Hide
Materials
- Two 2x4x??? - Depends on angle used
- Two 2x4x???
- Two 3x4x3'8.5" - One of these is optional
- Plywood Measured to fit
Steps
- Screw a temp upright to the short edge of the hide end.
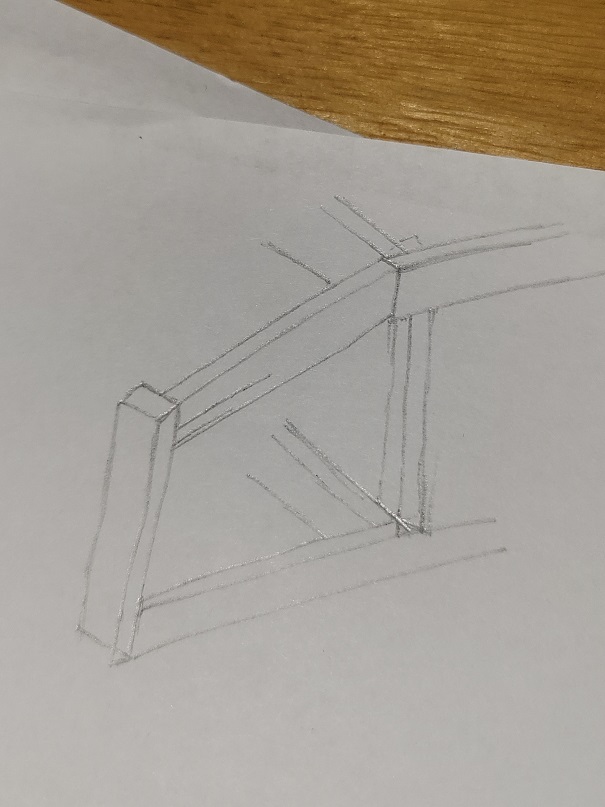
- Top piece will be angled and butted to the Run side rail and butted to the upright. (see poor diagram at bottom)
- Measure it how you want, what I did was cut a 2x4 at a 15% angle, butt it up to the end of the top siderail and measured the angle at the crosspiece. As well as measure the crosspiece where the top would touch.
- Cut your top pieces identical and your uprights to the proper length.
- Angle the top of the upright so that the roofing can overhang without hitting that angle.
- Rip the crosspiece at that same angle.
- Screw the uprights into place. They will be 1/2 on the butt end of the side rail and 1/2 on the floor crosspiece.
- Screw the top pieces into place
- Screw the crosspieces into place. On the inside of the uprights at the top, and optional depending on roofing to the top crosspiece of the run. I didn't need it with the metal roofing.
- You should now have an flat frame you can put the roofing on.
- Cut the 2' sides of the hide to go on the outside and screw to the frame. You may want to allow for ventation space at the top.
- Measure and cut the 4' sides to fit inside the uprights. These will only screw to the top and bottom rails.
- Cut your entrance from the hide to the run and attach the door if you wish. We have ours so we can get them into the hide, then close them off from the run to access them.
- The roof goes on last.
4) Finishing steps
Materials
- One 4x4' square of 2" x 4" Welded wire fencing
- Three 2x4' square of 2" x 4" Welded wire fencing - Adjust height if you've changed the upright height.
- Roofing material sized to have some overlap.
Steps
- Staple the sides
- Check that you haven't left any tools inside the run
- Staple the top
- Attach the roofing. In our case I also put a crossbeam notched into the hide top rails as I was using leftover scraps of roofing. Any weather resistant material is suitable. Just make sure you have ventalation at the top if used in hotter weather.


