grumpy
Well-known member
Feed storage area #2. Three barrels hold 400 pounds of feed.
Feed storage area #1. (not shown) Three barrels hold 300 pounds of feed.
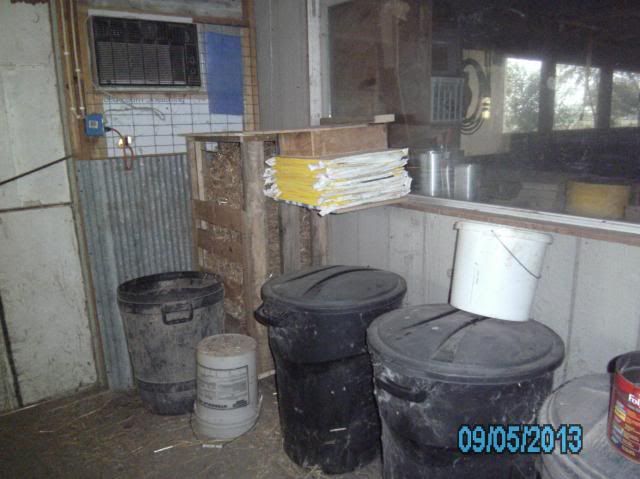
Barrels removed for construction. Stored the bags of feed
in the back of my van while this was being worked on.
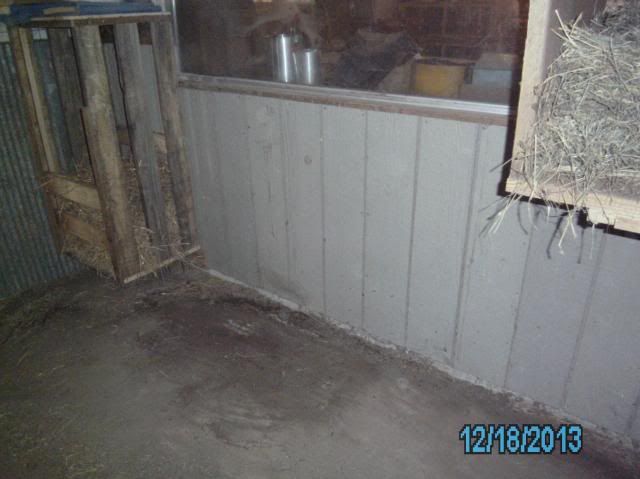
Base and sidewalls built and in place.
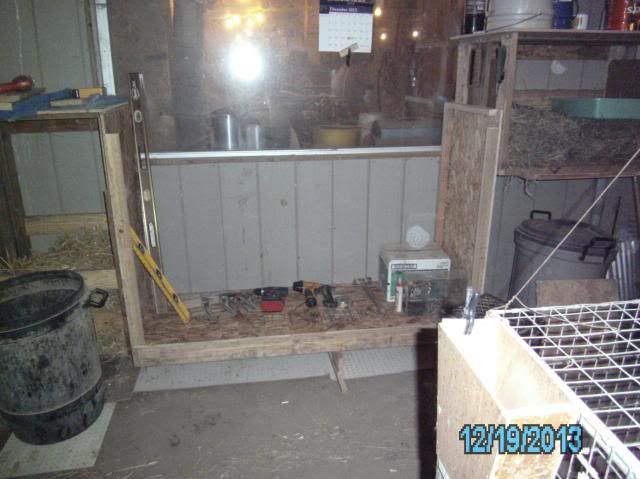
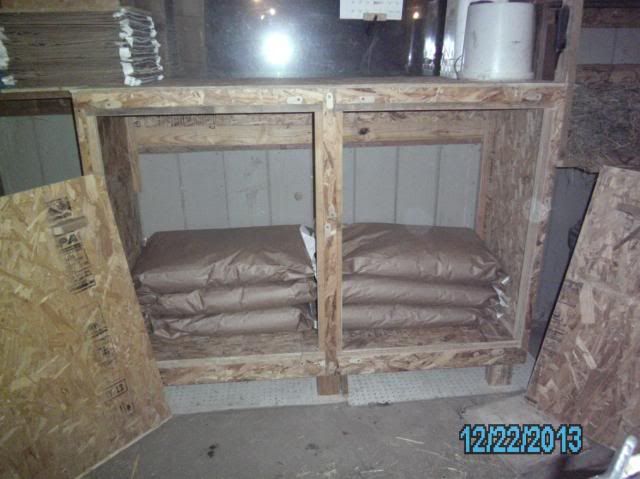
Unit is built. It is designed to hold 14, 50-pound bags of feed.
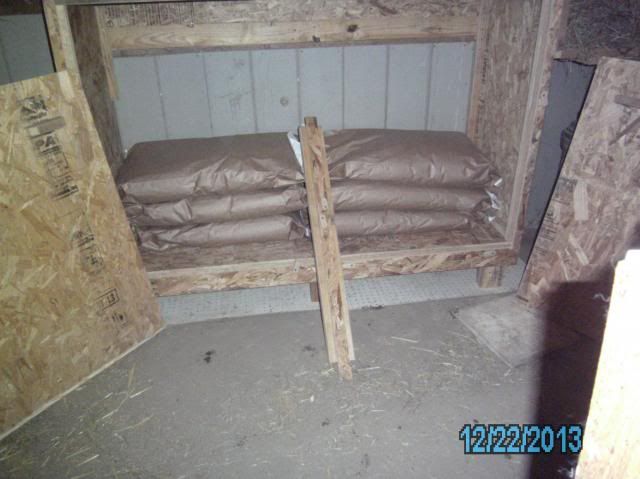
I was concerned about the center support getting in the way
while the feed bags were being put in place for storage.
I made it removable. You can see it lying on top of the unit.
I built it with the tolerance being a "snug-fit". Less than 1/64 of an inch.
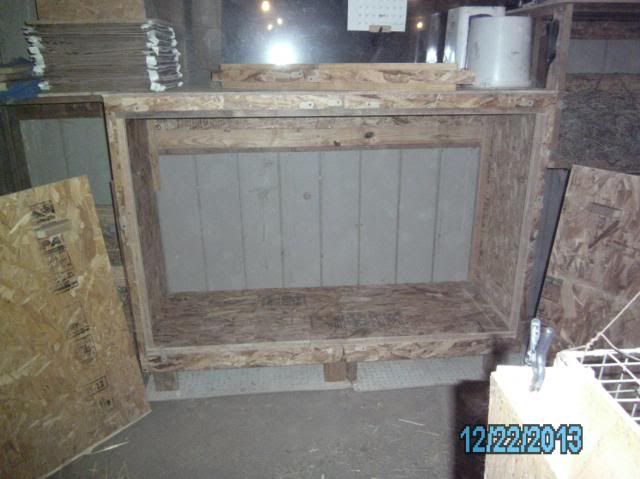
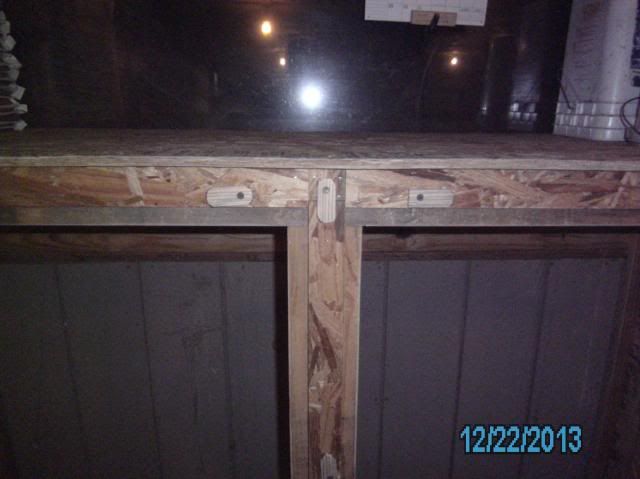
You can see the turn-button that holds the top of the center support
in place.
Feed has been loaded and the center support is ready to be re-installed.
You can see the turn-button that holds the center support.
Once in place, it is pretty solid.
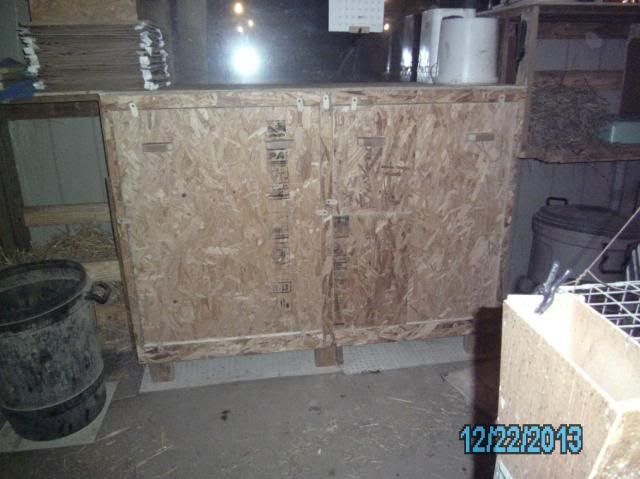
Unit is done and the doors locked into place. I used the turn buttons
instead of hinges because of not wanting the doors to swing out into
the aisle. They can be removed and set off to the side, parallel to the
the cabinet.
All of the materials used in construction
were 'scrap' or 'repurposed' lumber.
By building this storage cabinet, I removed
one entire sequence on my feed handling job.
Now, I only have to dump the feed one time, instead of twice.
Less work...less waste.
I got the idea for this project on the 12th of December @8:30 pm.
while I was posting about my portable feed carrier I'd just built.
I started work on it the 18th, and finished up yesterday afternoon
around 4:30 pm, the 22nd. Not bad for an old timer.
Grumpy
Feed storage area #1. (not shown) Three barrels hold 300 pounds of feed.

Barrels removed for construction. Stored the bags of feed
in the back of my van while this was being worked on.

Base and sidewalls built and in place.

Unit is built. It is designed to hold 14, 50-pound bags of feed.
I was concerned about the center support getting in the way
while the feed bags were being put in place for storage.
I made it removable. You can see it lying on top of the unit.
I built it with the tolerance being a "snug-fit". Less than 1/64 of an inch.

You can see the turn-button that holds the top of the center support
in place.

Feed has been loaded and the center support is ready to be re-installed.

You can see the turn-button that holds the center support.
Once in place, it is pretty solid.

Unit is done and the doors locked into place. I used the turn buttons
instead of hinges because of not wanting the doors to swing out into
the aisle. They can be removed and set off to the side, parallel to the
the cabinet.

All of the materials used in construction
were 'scrap' or 'repurposed' lumber.
By building this storage cabinet, I removed
one entire sequence on my feed handling job.
Now, I only have to dump the feed one time, instead of twice.
Less work...less waste.
I got the idea for this project on the 12th of December @8:30 pm.
while I was posting about my portable feed carrier I'd just built.
I started work on it the 18th, and finished up yesterday afternoon
around 4:30 pm, the 22nd. Not bad for an old timer.
Grumpy


