grumpy
Well-known member
Okay....Here we go:
The box itself is made out of 3/4" plywood.
All dimensions are 'exterior' measurements.
With the exception of the adjustable floor.
That's a piece of 1/2" plywood,
which looks to be cut a quarter inch undersized.
NOTE: Keep in mind, I raise NZW's.
With larger or smaller rabbits,
you may have to make some adjustments
on the overall dimensions.
Length----20"
Width-----7 3/4"
Height----9 3/4"
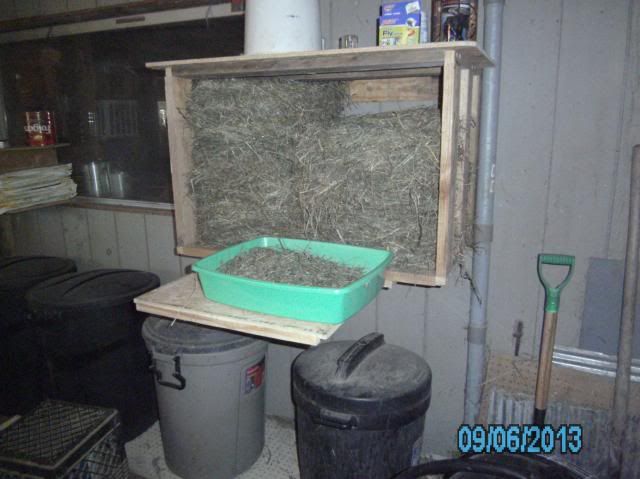
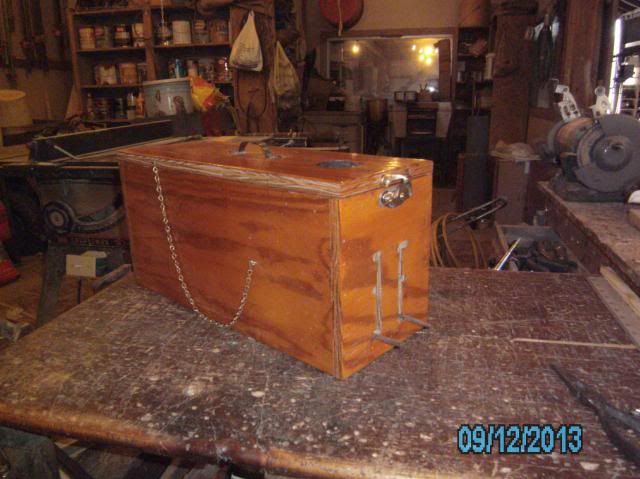
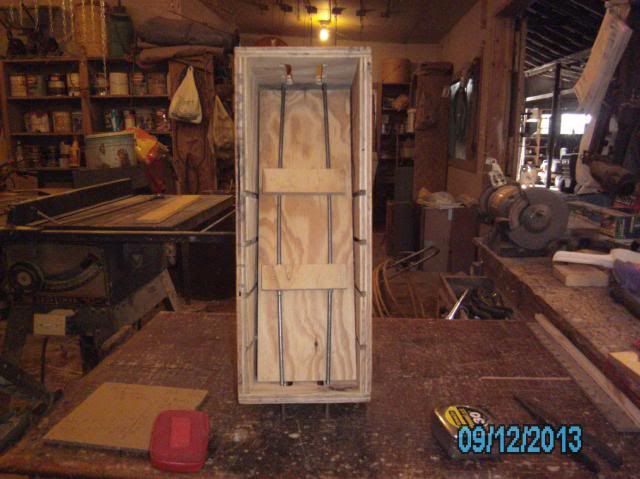
First pic is the front.
It's got a sash lock for locking the lid down.
Cheap chain to keep the lid from slapping back.
View of front adjustment rods.
You can see the ear-hole.
It's centered. 2 1/2" diameter.
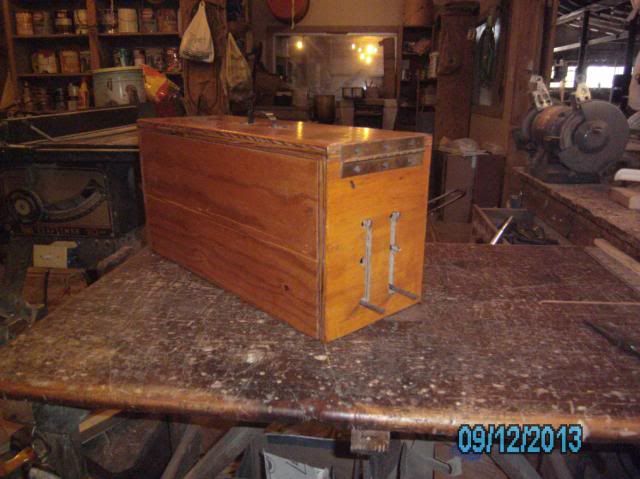
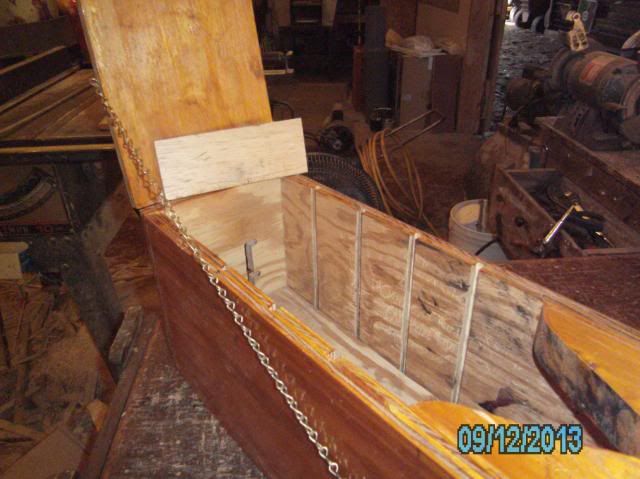
Second pic is the back.
Partial piano hinge across body and top.
You can see the adjustment rods for the movable floor.
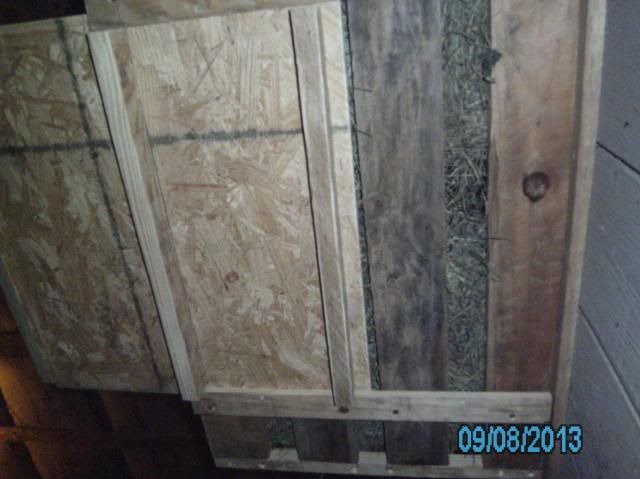
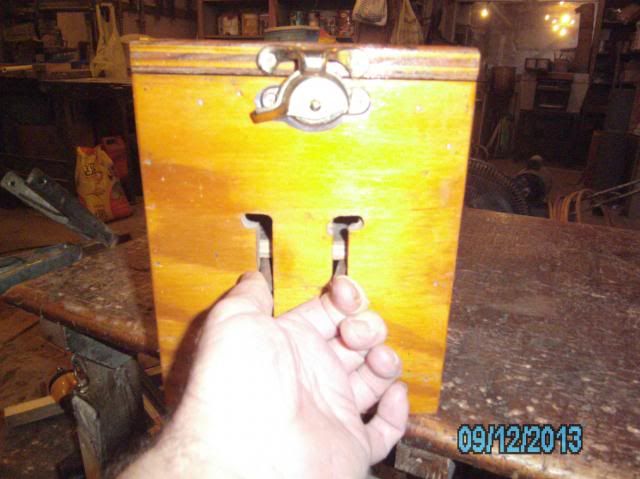
Third pic is the bottom.
Two 1/4" steel adjustment rods. I'd guess they're spring steel.
Mild steel wouldn't flex like these do.
You can see they've been installed with 'pressure'
forcing the rods against the sides of the adjustment slots.
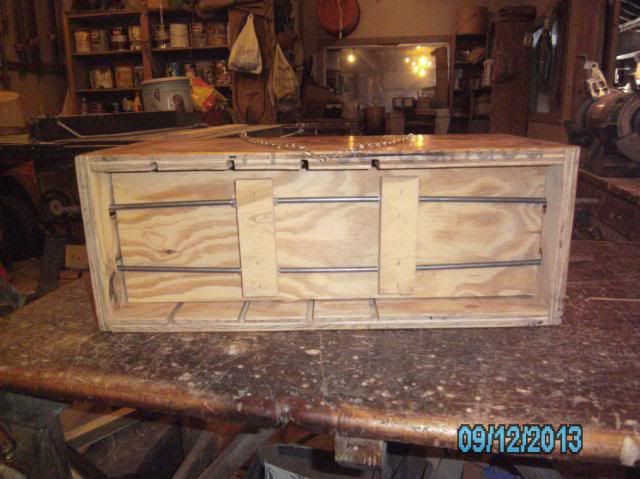
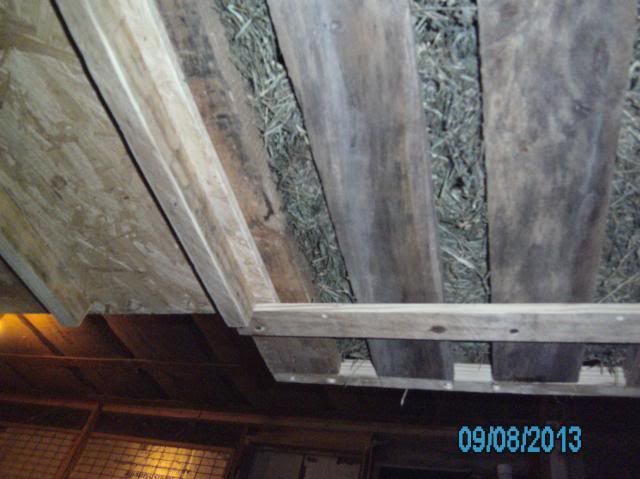
Another 'bottom' shot.
This pic shows the adjustment slots for the 'butt-board'.
They're 5/16" X 5/16" grooves centered every three inches.
Butt-Board is 5/32" Luan underlayment.
It slides easily in the slots. It's on the box body.
The "V" pattern is 1 3/4" stock. It centers the head
right under the "ear-hole" which is 2 1/2" in diameter.
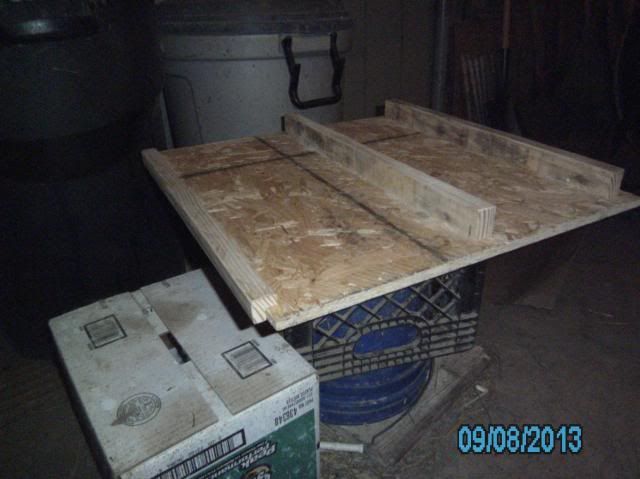
The last pic is a close-up of the adjustment rods.
It'll give you a pretty good idea on how to make them.
The trickiest/hardest part of this whole deal
is getting the adjustment slots cut with the
detent cut-outs. The rest of it is pretty basic
cabinetry work.
I'd darn sure use a good brand
of woodworker's glue along with the fasteners.
I did notice that they used "hot-glue" on the
rod brackets on the adjustable floor bottom.
AND they used an air stapler to attach the
two small blocks holding the steel rods in place.
There were two slots on each of the blocks
where the rod was secured before fastening.
Hope this helps. I'm headed out to paint
the football field and won't be back till
later-later-later-later tonight.
Good Luck,
grumpy
The box itself is made out of 3/4" plywood.
All dimensions are 'exterior' measurements.
With the exception of the adjustable floor.
That's a piece of 1/2" plywood,
which looks to be cut a quarter inch undersized.
NOTE: Keep in mind, I raise NZW's.
With larger or smaller rabbits,
you may have to make some adjustments
on the overall dimensions.
Length----20"
Width-----7 3/4"
Height----9 3/4"
First pic is the front.
It's got a sash lock for locking the lid down.
Cheap chain to keep the lid from slapping back.
View of front adjustment rods.
You can see the ear-hole.
It's centered. 2 1/2" diameter.
Second pic is the back.
Partial piano hinge across body and top.
You can see the adjustment rods for the movable floor.
Third pic is the bottom.
Two 1/4" steel adjustment rods. I'd guess they're spring steel.
Mild steel wouldn't flex like these do.
You can see they've been installed with 'pressure'
forcing the rods against the sides of the adjustment slots.
Another 'bottom' shot.
This pic shows the adjustment slots for the 'butt-board'.
They're 5/16" X 5/16" grooves centered every three inches.
Butt-Board is 5/32" Luan underlayment.
It slides easily in the slots. It's on the box body.
The "V" pattern is 1 3/4" stock. It centers the head
right under the "ear-hole" which is 2 1/2" in diameter.
The last pic is a close-up of the adjustment rods.
It'll give you a pretty good idea on how to make them.
The trickiest/hardest part of this whole deal
is getting the adjustment slots cut with the
detent cut-outs. The rest of it is pretty basic
cabinetry work.
I'd darn sure use a good brand
of woodworker's glue along with the fasteners.
I did notice that they used "hot-glue" on the
rod brackets on the adjustable floor bottom.
AND they used an air stapler to attach the
two small blocks holding the steel rods in place.
There were two slots on each of the blocks
where the rod was secured before fastening.
Hope this helps. I'm headed out to paint
the football field and won't be back till
later-later-later-later tonight.
Good Luck,
grumpy