Odds & Ends...Bits & Pieces Both racks installed.

Rabbit Talk  Forum

Help Support Rabbit Talk Forum:

This site may earn a commission from merchant affiliate links, including eBay, Amazon, and others.

grumpy

Well-known member
Joined
Jan 25, 2012
Messages
2,004
Reaction score
19
Location
plattsburg, missouri
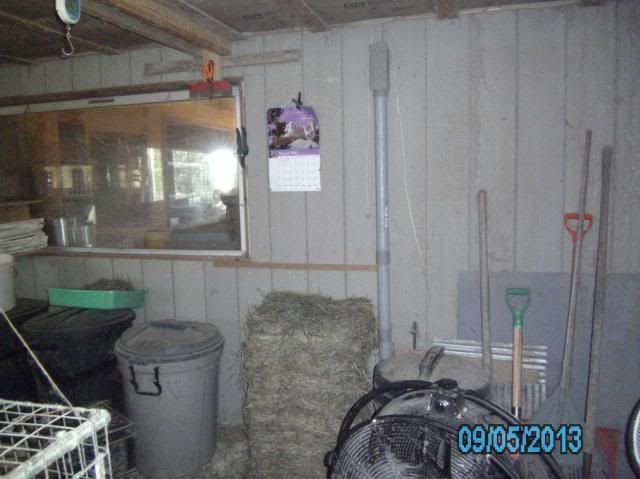
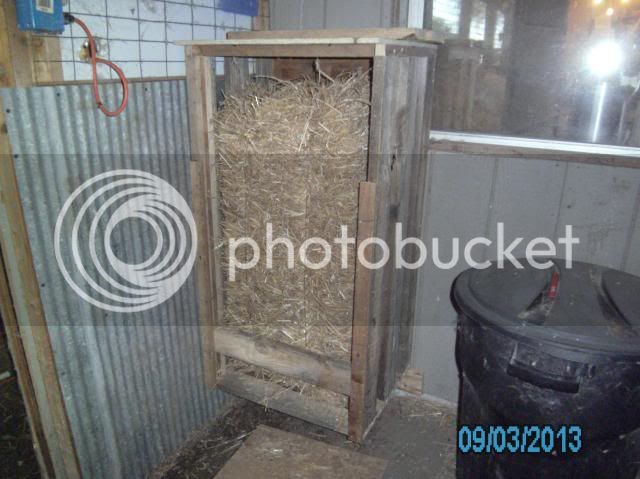
Corner where I usually placed a bale of straw.
But...the bottom 2 or 3 inches would get wasted.
Strawbox003_zps39e0dee1.jpg


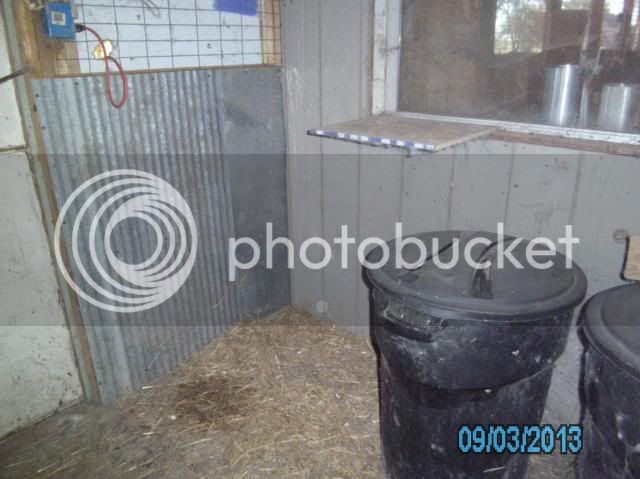
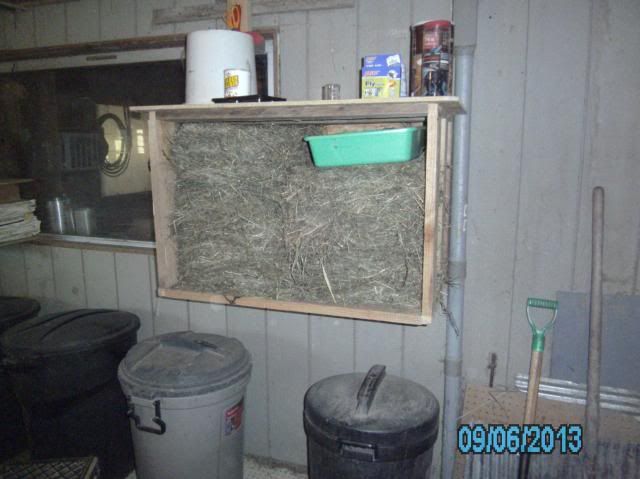
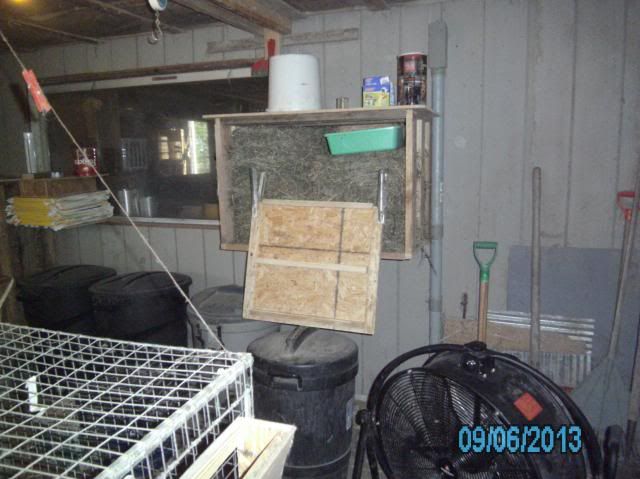
Took some of the dunnage lumber and made a rack.
It holds a full bale of straw up off the ground.
I've still got the tie-wire on it.
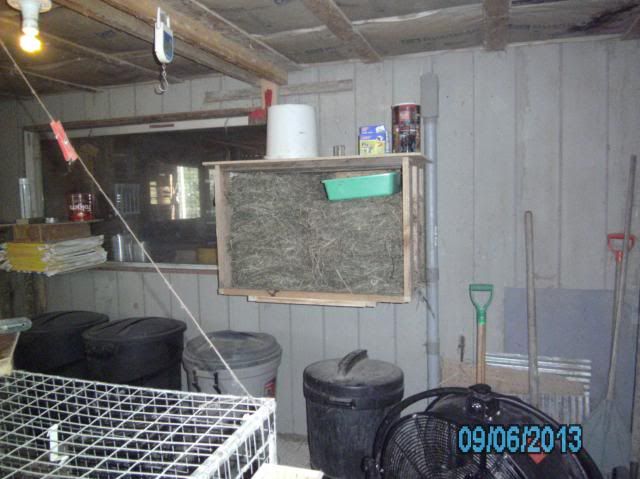
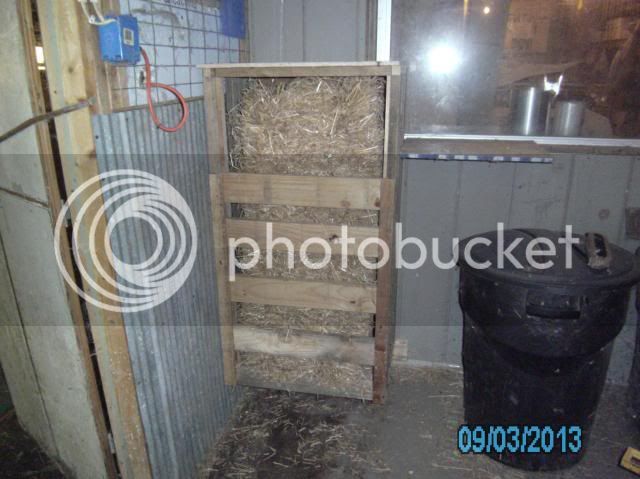
Look how much it expands in the next picture
with the wire off. LOL.
Strawbox004_zpsc9b96df5.jpg


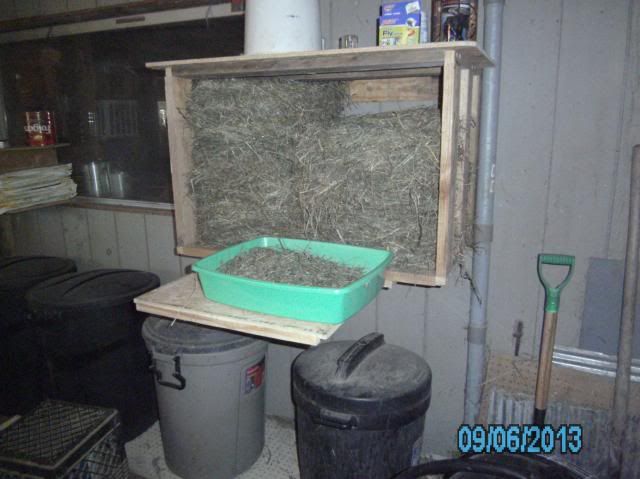
Those front slats are removable. Small nails
are slipped into drilled holes just under the bottom edge.
Strawbox005_zpsb373c147.jpg


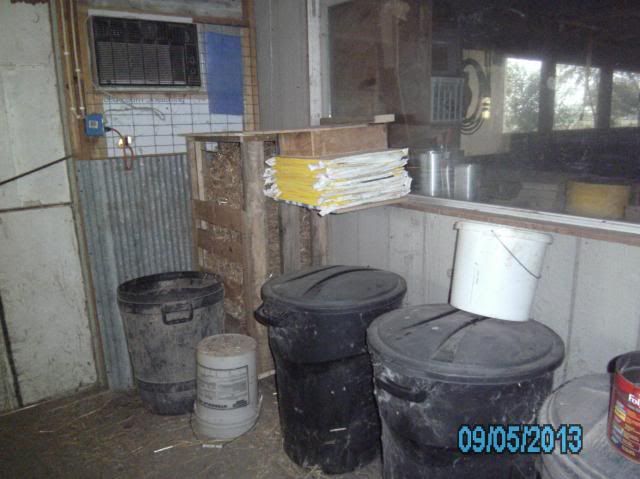
Everything's back in place. Moved the small shelf
over for my folded feed sacks.
Strawbox008_zpsf28cb36f.jpg


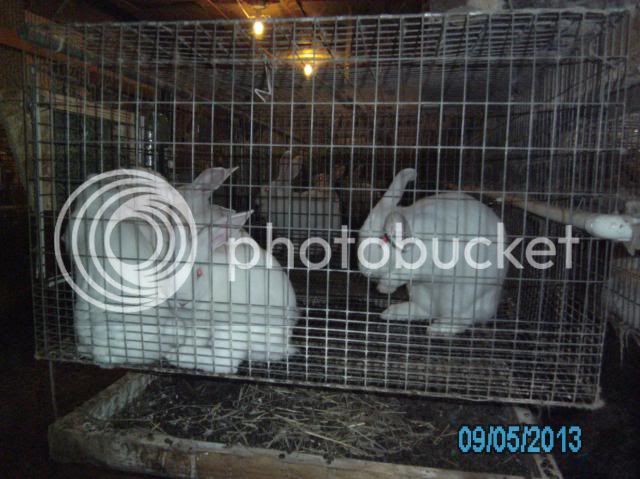
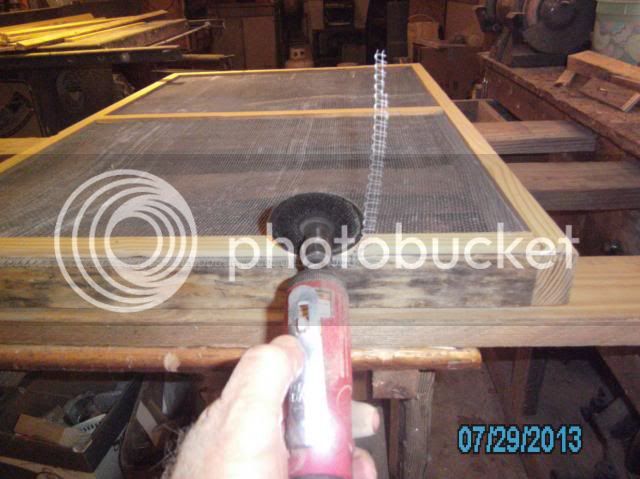
Hairy cages needed to be cleaned. I usually
do this about once a month. Used a small propane
torch, brush, and putty knife.
Strawbox006_zps7b8068bc.jpg


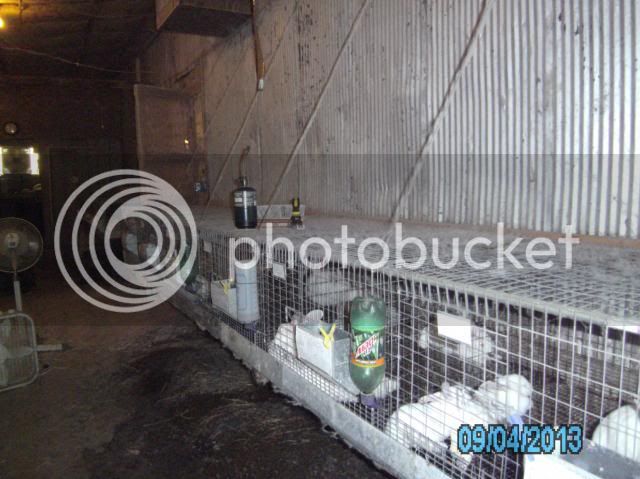
The end result is nice, clean cages.
The rabbits pay no mind to me when I'm doing this.
Strawbox007_zpsfb668ae7.jpg


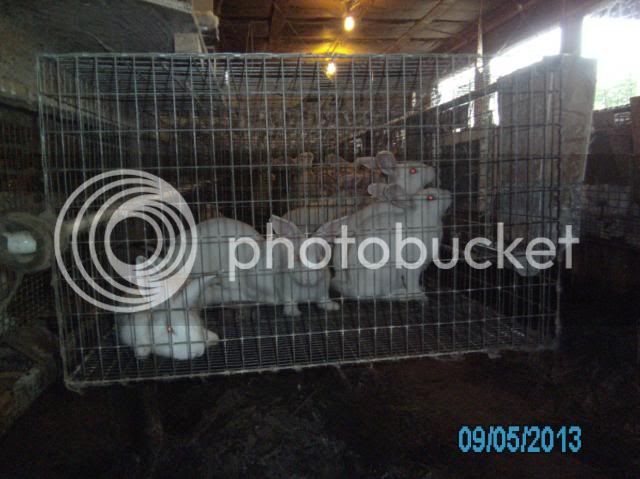
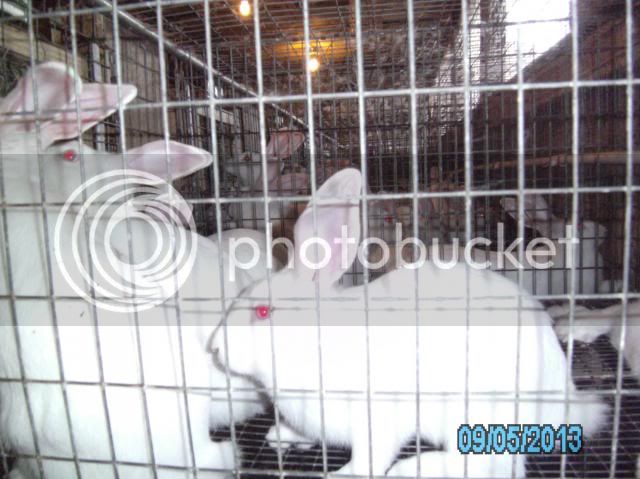
The next two pics are fryers lined up
for their hay. Made about 30 hayracks
the other day. I bought 10 bales of
third-cutting Alfalfa out of the field,
for six-dollars a bale.
Got them stored in the loft above the
grow-out room.
Strawbox009_zpsf1a8566b.jpg


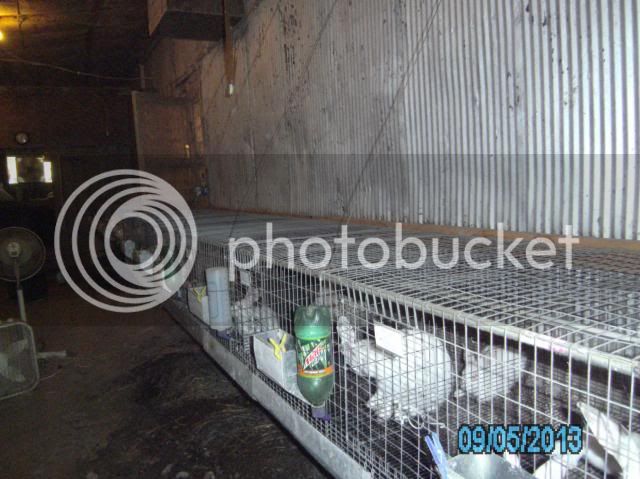
I've got a few nearly ready to be shipped.
With my upcoming expansion, all of these cages
will be removed and turned 90 degrees. I'll lose
4 cages when I do this, but they'll go into the
new area. I made a boo-boo when I built this room
and discovered the aisle is too narrow. I'll gain
an extra foot of aisle-space when they're turned.
I'll have to cut new doors and new openings for
the feeders. Placed end to end, I'll only have
to patch the last cage to close up the old holes.
Strawbox011_zps781fe61a.jpg


Thanks for lookin'.
Grumpy
 
SuburbanHomesteader":1hd782s8 said:
Looks great, Grumpy! Gotta love those clean pens. You say the rabbits don't mind it when you come around with the torch?

Naw...the old does are used to it.
I'm just real careful with the youngsters.
When one comes 'snoopin' I don't move the flame.
They'll only come so close before
they feel the heat...then, back to mama they go!

Thanks Tex. I work hard taking good care of my stock.

Amanda, thanks for the compliment:
That's for my straw. I'm building a
different style for my hay over the next few days.
I'll post pics of it when I'm finished.
 
Hmm.

I need some ideas on how to store my hay.

I am watching very closely.

I'm going to try take 3 on the cage torching tomorrow, removing all flammable mist.
Any more pointers before I start?
 
skysthelimit":n4hyeqhi said:
Any more pointers before I start?
Is this where I put the disclaimer, saying that I'm not liable if something freaky happens? :p

That's pretty much all I can think of to tell you... keep it moving. :)
 
Here's one of my younger does with her
litter that's just about ready to head
for the grow-out pens. This was her first
litter and I believe she had 8 and raised 7.
Have to check her cage card to be sure.
You can see some of the 'poop-trays' that I made.
Still workin' on those blasted things. But other
items pop up that need attention. So they're put
on hold for a few days.
Strawbox010_zps77790ac6.jpg


Those 'poop-trays' left me with a problem.
The first one or two I made, I cut the 1/8"
hardware cloth with a pair of tin snips.
"WOWSA"!!! Talk about sharp pointy ends!!
That was like grabbin' a porcupine by the butt!!
I came up with a much better solution.
Strawbox002_zps3e2b73bf.jpg


Thanks for lookin'
Grumpy.
 
I wonder about going to poop trays. Right now, the poop just falls to the ground and I shovel it out one a week or so. It gets white mold on it that way.

Are the poop trays there to discourage mold or do they serve another purpose?
 
TMTex":2cvjv5vx said:
I wonder about going to poop trays. Right now, the poop just falls to the ground and I shovel it out one a week or so. It gets white mold on it that way.

Are the poop trays there to discourage mold or do they serve another purpose?

Tex: The trays are there for a purpose.
Of course the obvious is catch the poop. LOL.
I'll empty the trays into a wheelbarrow and
wheel it outside to the compost pile for the time being.

BUT: Once I get everything in order, I'll be able to
dry the poop with solar power, sack-it, weigh-it, and sell-it.
I sold a bunch of manure off the compost pile last spring.
I believe if it's dried and bagged I think it would sell even better.
At least.....I hope so. LOL.

I still get the white mold on the manure even in the trays.
Don't know for sure what it is.

Kyle: Thanks for the compliment.

Grumpy.
 
*taking notes on the straw holder, and waiting to see the hay holder*

I love picking up ideas from the folks here.
 
I use a poop slope instead of a catcher. The "waste" rolls down the slope out onto the dirt behind the patio they are one. Once a week or so I will rinse them off just to keep it sanitary. I also pour a vinegar solution down it for an extra deep clean.
 
bunnychild":3sjfqjm7 said:
I use a poop slope instead of a catcher. The "waste" rolls down the slope out onto the dirt behind the patio they are one. Once a week or so I will rinse them off just to keep it sanitary. I also pour a vinegar solution down it for an extra deep clean.

I've let the droppings fall straight for years.
My reasons for the trays are two-fold.
Easier clean up (I'm not so sure about this one.)
And keeping the berries 'clean'...if poop can be called clean. LOL.

I noticed a trend last spring, when folks came out to load manure.
I sold quite a bit by the way, but most folks are somewhat lazy.
Shoveling #### ain't easy work. But....I'm betting they'll buy it
all bagged up, dried up, and ready to go.

I'll post some pics of my eventual solar drier later today.
It's somewhat dilapidated and needing repair. But, it'll be a dandy!

skysthelimit":3sjfqjm7 said:
It's the best. Gonna make my holder tomorrow.
I finished the hay-holder yesterday afternoon, Sky.
But....I had an epiphany.
Plus....I wanna 'show-off' a little bit.
I've got an old practice I've used for years that
I want to incorporate into the new hay-holder.
It won't take but an hour or so to make.
But it's as handy as a pocket on a shirt.

Grumpy.

__________ Sat Sep 07, 2013 10:11 am __________

My usual spot for my hay.
Again, I didn't care for it on the ground.
The lower portion would 'wick' moisture
and become stale smelling.
HayRack001_zpsa01bb169.jpg


It is nothing real fancy, but it works!!
I'd halve the bale and place each portion side by side.
I scrounged an old litter pan and washed it out good.
It carries the hay much easier than trying to handle a flake.
I got this installed late yesterday evening. Then..I got an idea.
HayRack003_zps81f27c33.jpg


Anyone hazard a guess what this is for??
I was up early and in the shop working on this.
Took me about an hour to make, but I'm gonna like it.
Looks kinda weird doesn't it.
HayRack004_zps74b38572.jpg


Have you figured out what it is, yet?
Here's where it went. Just under the hay-rack.
HayRack005_zps04e8877d.jpg


Installation complete!!! Sure is handy to set the 'hay-pan' on.
One can never have enough shelf-space. At least I can't. LOL.
I've made dozens of these sliding shelves on different projects over the years.
All have proven to be very handy.
HayRack006_zpse3fa236a.jpg


Thanks for looking.

Grumpy
 
Hey Grumpy,
That shelf looks great!
What I can't figure out is,
How it hooks under the hay rack and stays up when you pull it out.
does it just sit on top of those feed barrels?
I may try to work on something like that.
Thanks for a great idea.
Ottersatin. :eek:ldtimer:
 
I ran a pair of parallel cleats that have been
cut out so the shelving could slide in them.
That's 7/16" OSB...I cut an edge 1/2" tall
and 3/4" deep out of the cleats. Leaving myself
enough of the full cleat to screw it into
the bottom of the hay box.

The secret to all of this is to screw the shelf
to the cleats while it's still on the work bench.
Make sure you've allowed clearance for it
to slide easily without binding on the edges.
Then....You can set the whole assembly under the hay-box.
And use the two spring clamps to hold it place while you screw
the cleats to the box.

Then....you can easily remove the screws holding
the shelf to the cleats that are now secure.
Sort of hard to explain..sorry about that.

I'll take a pic of the underneath side tomorrow.


grumpy.
 
Back
Top